Panera Bread introduces Panera Grocery amid coronavirus pandemic
Panera Grocery offers milk, bread, fresh produce for pick-up or delivery; Fox Biz Flash: 4/8.
Looking to make homemade bread? First and foremost: Good for you! Baking bread at home is one of the most satisfying kitchen projects. The smell of it baking, the first slice topped with good butter — it doesn’t get much better!. Before you start stirring up your dough, though, testing yeast is an important step not to skip.
Why Do You Test Yeast?
Yeast is a microorganism that, when activated with liquid and fed by sugars, creates air bubbles that give bread its rise and texture. Yeast needs to be tested to ensure it’s still alive and ready to behave in the recipe as intended.
Yeast that’s active and ready to go will make a great loaf of bread. Yeast that’s past its prime will leave you with dense bread that you probably will not want to eat.
More From Taste of Home
How to Test Yeast
The easiest way to test yeast — sometimes called proofing yeast — is to add the envelope of yeast to a half cup of warm water with a teaspoon of sugar and give it a stir. The liquid will activate the yeast and the sugar feeds it. If you don’t want to use sugar, a little honey or agave syrup will also work.
You know your yeast is good and ready for baking when it bubbles and froths after standing for five to ten minutes.

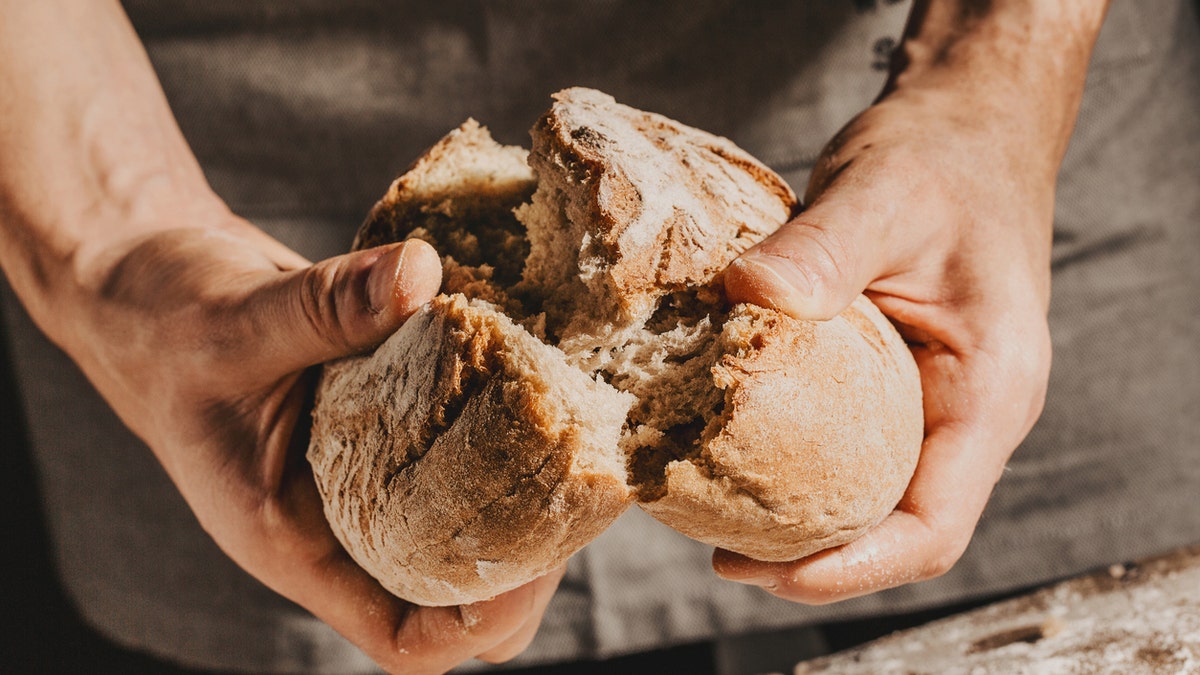
Thinking about baking your own bread? You're not alone. The trend is gaining momentum now that everyone's got more time at home. (iStock)
Test Kitchen tip: Make sure the water you’re using is no hotter than 115 degrees F. Any warmer and you’ll kill the yeast, and it won’t be of any use to you.
How to Store Yeast
Yeast that’s stored properly will last longer, meaning you won’t have to run out to the store for a single packet of yeast. Keep yeast in a cool, dry and dark place. Use by the best-by date if possible, though you can always test yeast that’s a little past this date.
If you buy your yeast in larger quantities (like the jars you see at supermarkets), you can store them in the fridge or freezer to extend the shelf life.


